
I then asked her about blind hems, mine do not look so blind. So today, thanks to Edith, I learned how to do a blind hem by hand. Do you remember this dress? Well, the hem never looked quite right to me. You could see the hem, which is something you don't want with a blind hem. The reason for this was, I collected too many threads, thinking it would hold the hem up better. The result was a blind hem that wasn't blind. She showed me that I only need to pick up one thread, not two or three. For a video on how to do a blind hem by hand, check it out here.


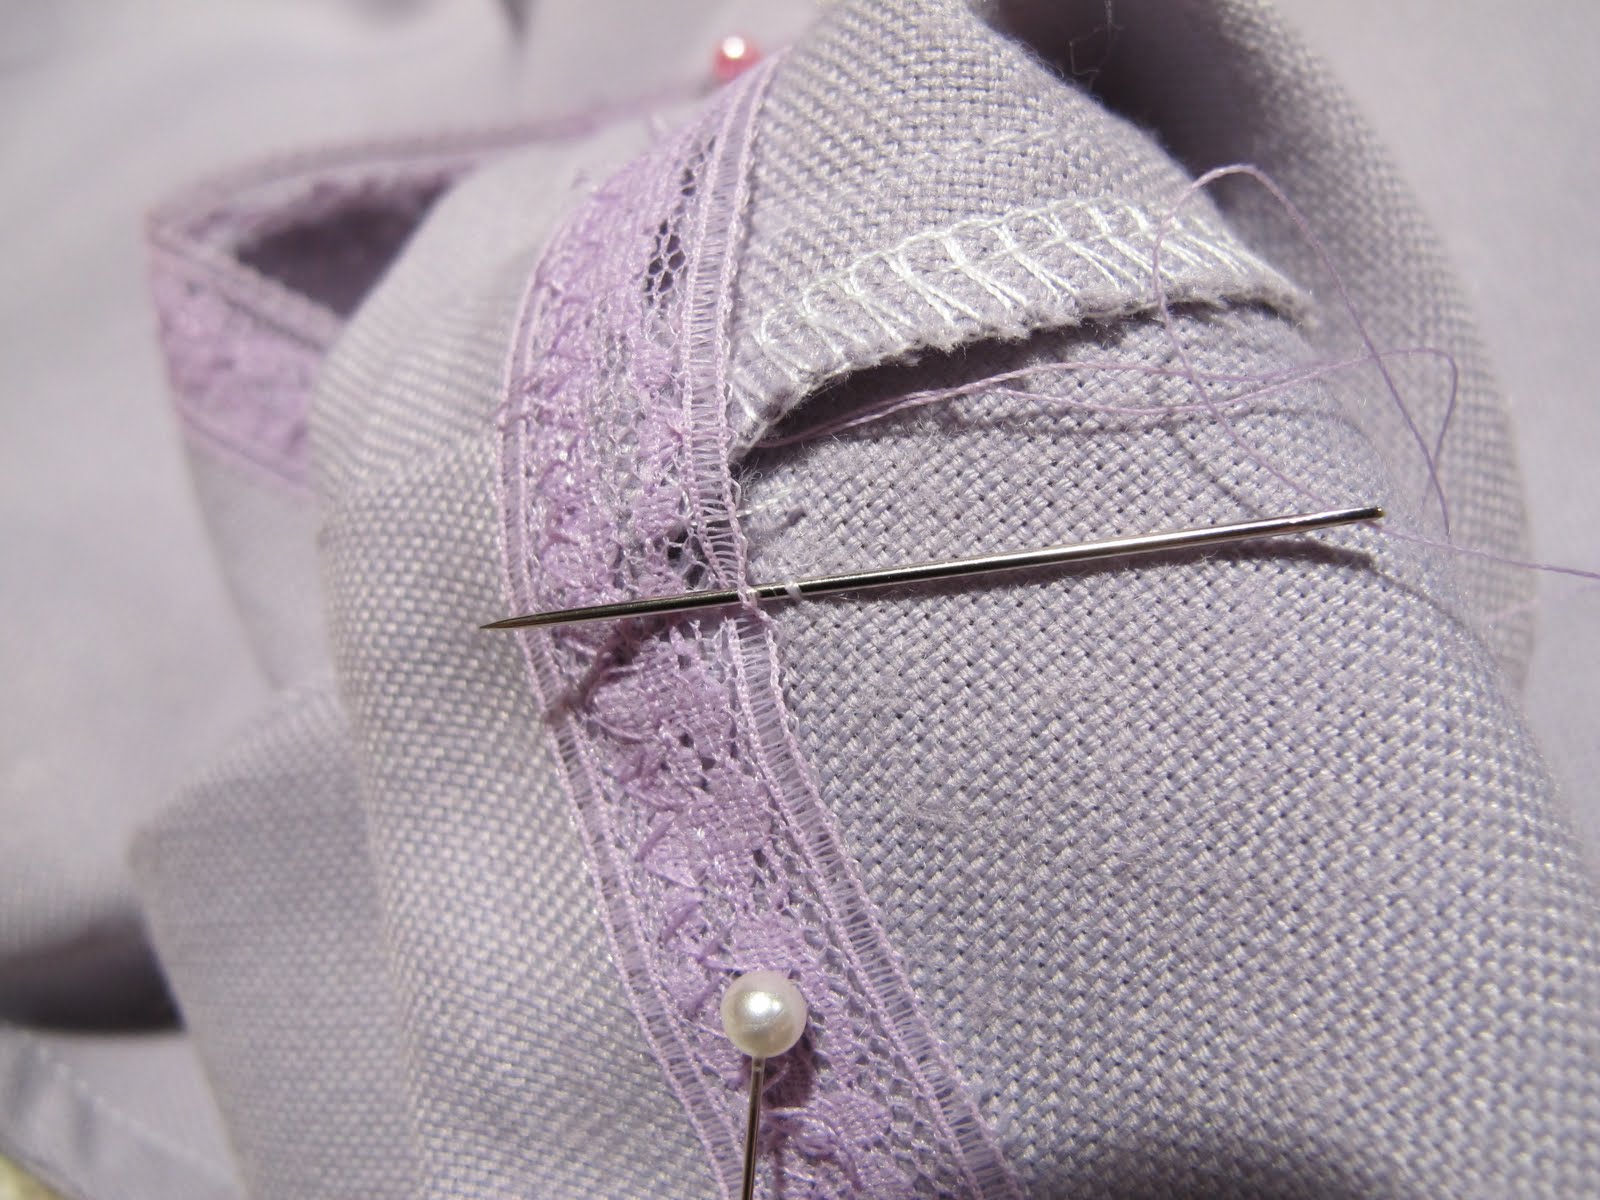 |
| Here is a close up, I hope you can see how I am catching the fabric and then the hem tape to make it appear blind from the other side. |

 |
| Above my thumb, you can see the threads that make the stitch, I will be making a stitch every 1/2 inch all the way around. |
 |
| Here is part of the finished blind hem, It looks pretty good to me, a definite improvement over the first one. I hope to get better with this technique, but for now it looks so much better! To finish off your stitching threads, put a few knots in the hem tape, then cut it off threads and your are done! Easy! Check out the video above, it's very helpful. |
Edith also gave me another good tip that I wanted to pass on to you. She always adds a whole inch to the side seams all the way down. She told me this has served her and her customers well over the years. This is not for a shoulder seam, just the side from the under arm down to the floor. This insures that as the body changes you can make adjustments to your beloved garments.

Also, she gifted me with some fabric she has collected over the years. I have already started making plans for them.
Have a wonderful vintage day!
Gina
This is lovely - your hemming looks pretty expert to me, and these photos are so beautifully detailed, you can really see the one single thread. How wonderful to share some tricks of the trade with a master :) I agree about the side seam thing, which is why I prefer a centre back or centre front fastening - a side zip makes things complicated. xx
ReplyDeleteYay! Great photos Gina. I love hand sewing. So relaxing. Where did you get such pretty hemming tape?!
ReplyDeleteYou're so lucky to have someone like that to learn from. She's right though.Your sewing ability is something to be proud of! In a word, "meticulous".
Px
Mrs. Exeter, you have a very good point. I have never thought about that, but a side zip does make it more complicated doesn't it. This gives me more to think about.
ReplyDeleteMiss P- Thanks, this new camera is helping a lot. Thanks for the comment, I was really surprised and delighted at what she said. I didn't expect it at all. You too are very meticulous!
Awesome tips! I had to figure out the blind hem stitch when I had to hem my skirts for grades school (the standard size would go down to almost my ankles, I was so small), but I am about to make a couple of dresses and will totally take the extra inch on the sides advice. I've gone down a few sizes of late, but do not expect that to last (in some ways I hope it doesn't). Thank Edith for me too, please!
ReplyDeleteWhat a lucky girl!
ReplyDeleteAnd that's exactly how I make an "invisible" hem job, too! Good tute.
Thanks for this post! I just did my first blind hem recently and I definitely picked up 2 or 3 threads so it's not as blind as it could be. I'll give this a go next time.
ReplyDeleteGreat tips, l am making a dress at the moment and l hope to do a blond hem on it. How lucky for you to get some vintage fabric. I'm sure your aunt willool forward to seeing what you make with it. xx
ReplyDeleteNeat! I have a couple of hems to go back and fix up now- it's weird to do the one thread! It just seems like it won't hold! But I am sure she knows what she is doing! Thanks for the tips.
ReplyDeleteThanks great blogg post
ReplyDelete